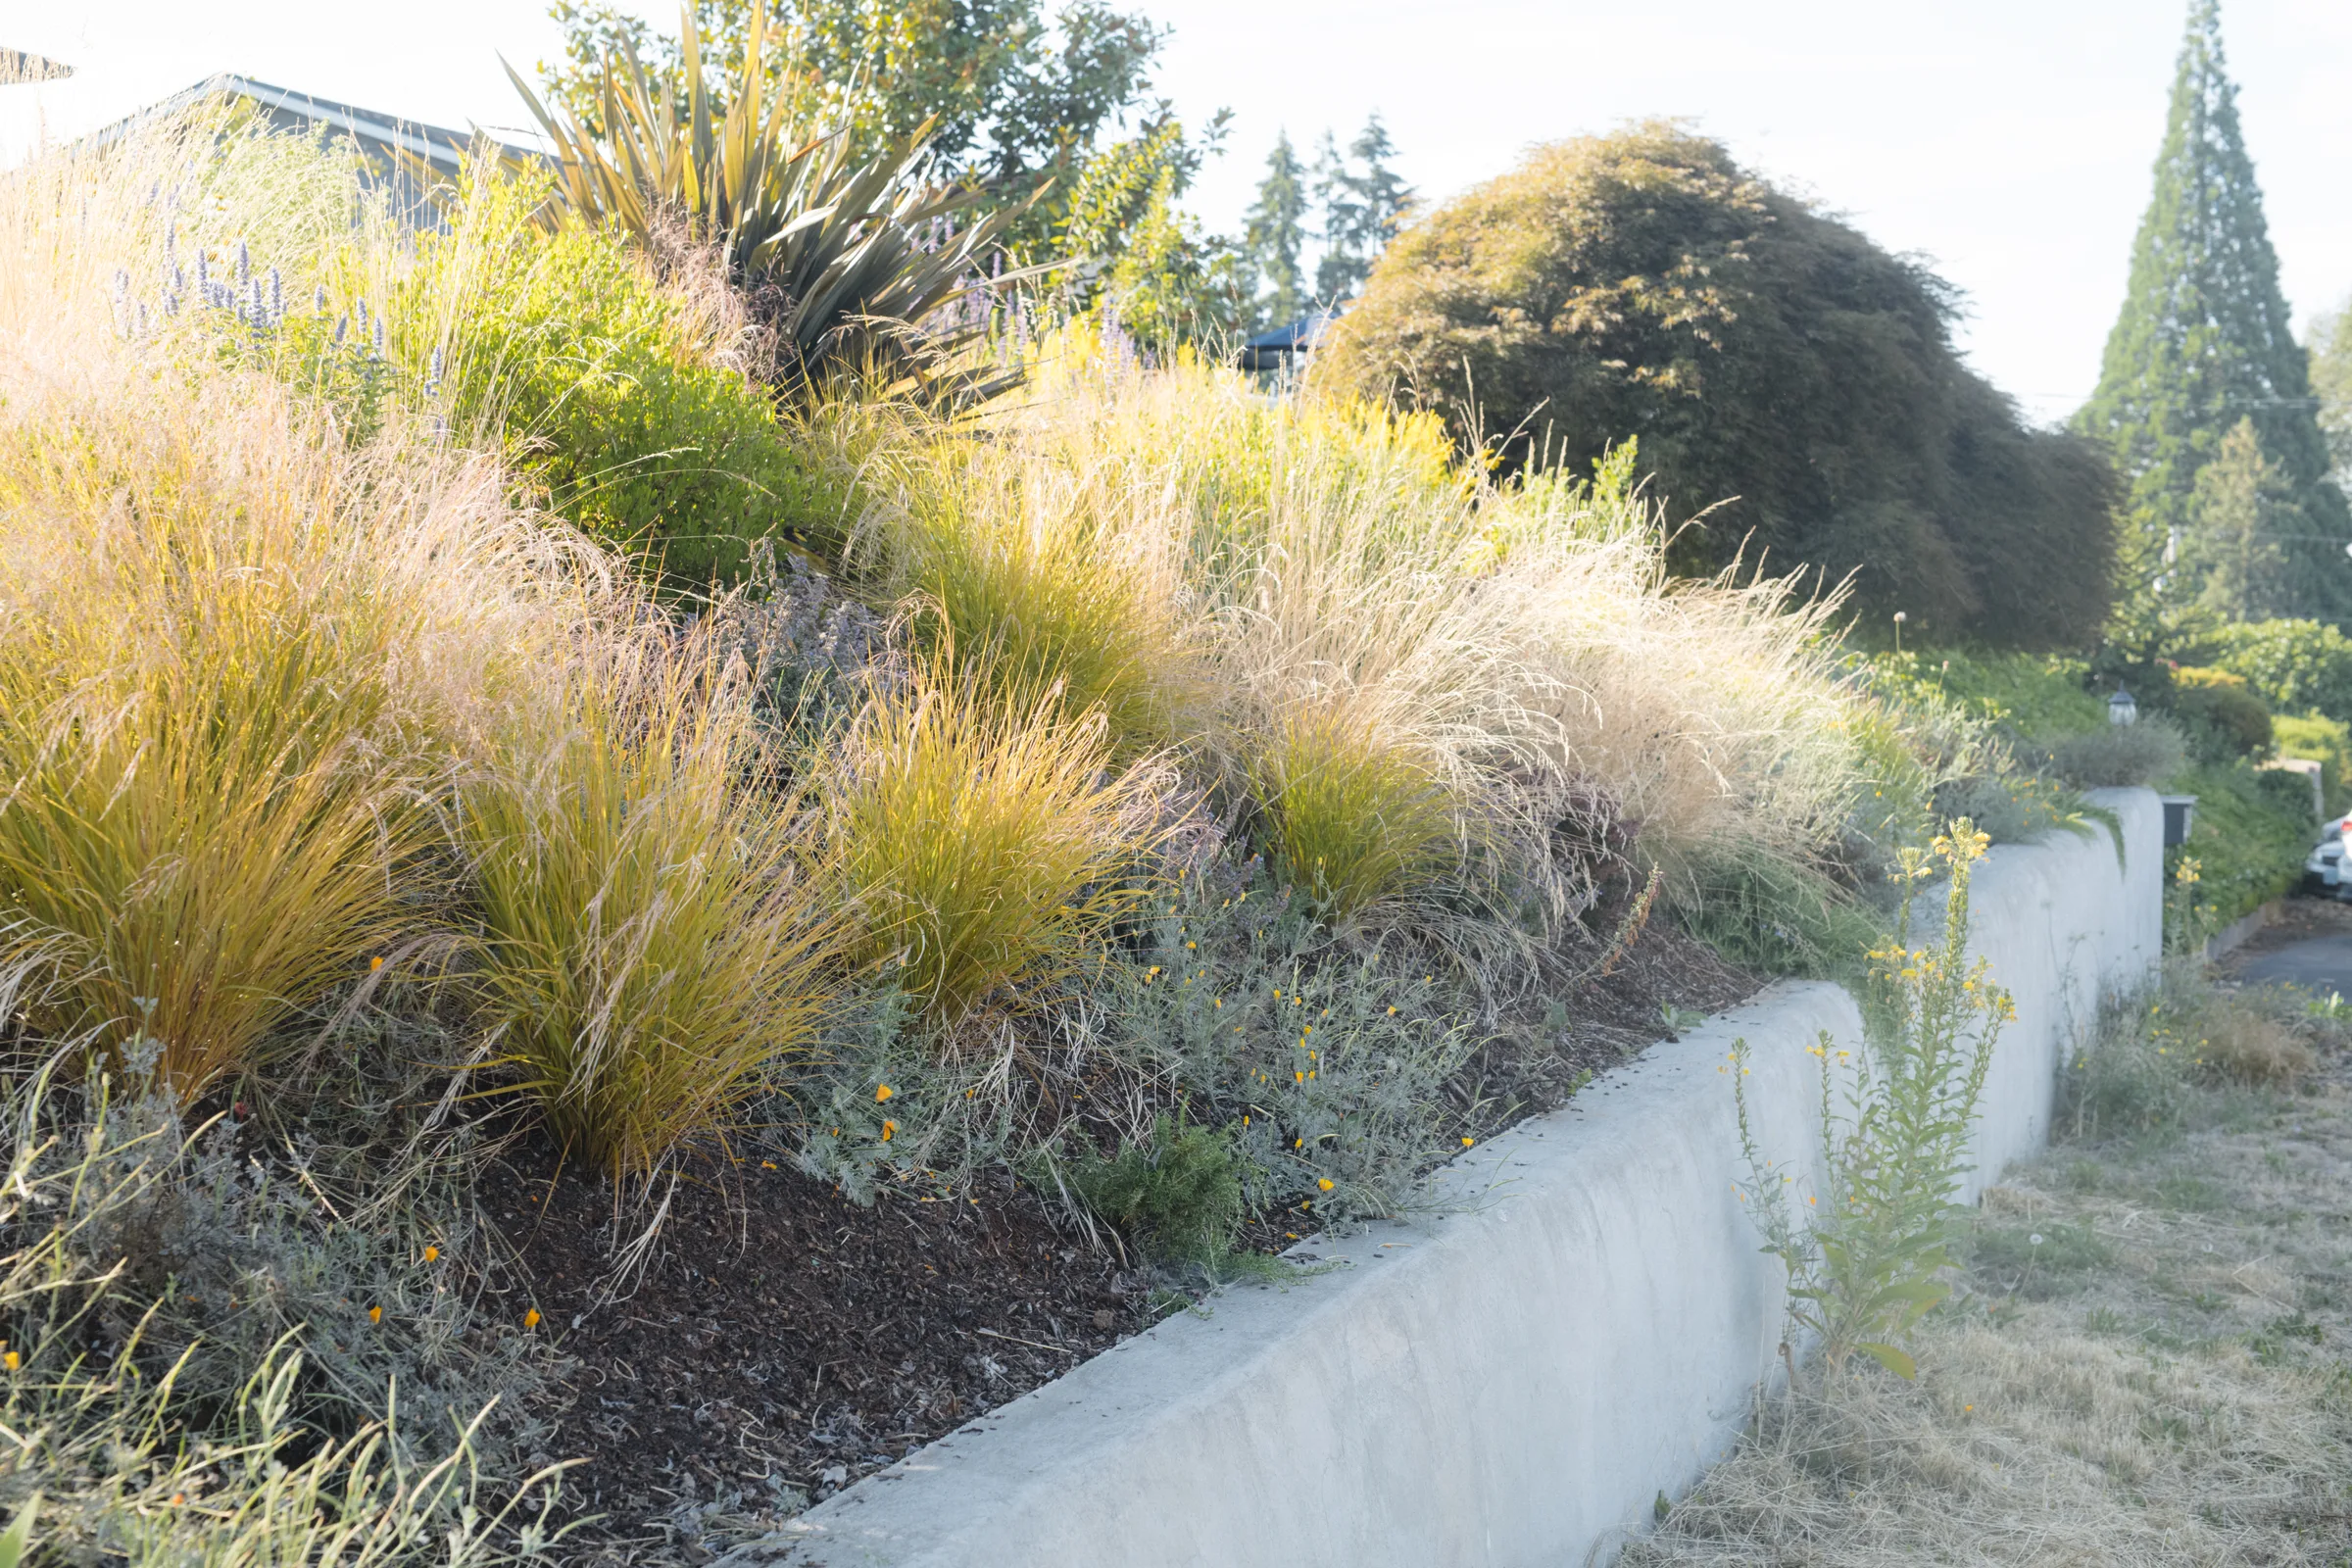
Where are you starting?
Your starting point decides your first move. Most yards I see fall into one of four groups.
- A lawn. The most common starting point, and a good one. Lawn is usually a blank slate with few surprises underneath. The job is removing the grass without wasting effort, then checking for compaction and drainage before you plant.
- A weedy or overgrown yard. Blackberry, ivy, and other aggressive plants are the real project here. Removing them thoroughly before planting matters more than almost anything else you will do. Not every weed is a problem, though, so it helps to tell invasive plants from harmless ones.
- Existing shrub beds and conventional landscaping. Edit before you clear. Mature trees and healthy shrubs have already proven they can live on your site, and they give a new planting a head start in structure and shade.
- Bare or disturbed soil. New construction and re-graded yards often have compacted fill, buried debris, and poor drainage. Fix the ground first, because plants cannot make up for it later.
What to expect
A habitat garden changes quickly in some ways and slowly in others.
- Wildlife arrives fast. Bees, butterflies, and birds often show up within the first season, sometimes within weeks of the first flowers. Larger animals and a fuller food web follow over the next few years.
- The garden takes three years to settle. Plants spend the first year building roots, the second year filling in, and the third year starting to look like the design. Watering, weeding, and close observation matter most during that window.
- It is ongoing work, with a different kind of effort. A habitat garden is not maintenance-free, but the work shifts from mowing and feeding to weeding, editing, and watching. Many people find that part of the reward.
- Good design is what keeps the effort low. The less a plant has to be coaxed, watered, or cut back, the less work you do. That comes from choosing the right plant for the right spot, not from choosing a particular category of plant.
The design process
A good design starts with the site and the people, then moves toward plants. Skipping straight to plants is the most common reason a new garden disappoints.
- 01 Listen and walk the site. How do you use the yard? What do you want to see, hear, and smell? How much time do you want to spend maintaining it? Do you have a neighbor, HOA, or budget to plan around?
- 02 Read the site. Track the sun across the seasons. Look at soil, drainage, slopes, wind, and heat from nearby walls and pavement. Note the trees, shrubs, and weeds already there, and where the utilities run.
- 03 Choose a direction. Match each part of the yard to a plant community that suits its conditions. This is where the ecosystem archetypes below come in.
- 04 Draw the plan. Lay out paths, edges, structures, water features, and planting areas to scale, with every plant sized for how big it will get, not how big it is in the pot.
- 05 Install in the right order. Prepare the ground, build the bones, then plant. The next sections cover how.
- 06 Establish and steward. Water, weed, observe, and adjust through the first three seasons, while the plants build roots and the garden finds its footing.
Know your plants before you buy
People who have done this before say the same thing: they wish they had understood their plants sooner. Before any plant goes on the list, confirm five things.
- Mature height and spread. Plants placed too close to a house, fence, or path have to be moved or removed later.
- Light needs. Full sun, part shade, and deep shade are different conditions, and few plants cross all three.
- Moisture needs. Wet winters and dry summers are hard on plants that need steady moisture, and on plants that cannot tolerate wet soil.
- Spreading habit. Some plants are generous, and a few are aggressive. Aggressive plants are fine in a big space and a problem in a small one.
- Browsing pressure. If deer or rabbits visit your yard, that changes which plants will make it through the first few years.
Plants for the site you actually have
A yard in the southern Willamette Valley is not the same as the valley floor was two hundred years ago. A house, a driveway, a fence, and a few decades of fill and compaction have rewritten the conditions. My approach starts from that fact.
- Your site is not the historical landscape. Reflected heat from walls and pavement can make one corner far hotter and drier than the surrounding region. Shade from buildings can turn a sunny valley lot into a woodland edge. Compacted fill and altered drainage change how water moves and where it collects. Two yards on the same street can behave like two different ecosystems.
- The right plant is the one that suits today's conditions. Plants should be matched to the site as it is now, not as it was before development. A plant that is perfectly native to the region can fail in a spot that no longer resembles the region it came from, and a plant from somewhere else can thrive there.
- Natives and hardy non-natives work best together. Native plants bring deep ecological value, and I use them wherever they suit the site. On difficult or altered ground, a mix of natives and hardy, well-behaved non-natives often establishes a more stable and resilient plant community than natives alone. The goal is not a purity test. It is a planting that holds together, supports wildlife, and keeps doing so as conditions change.
This is why I begin every project by reading the site rather than starting from a plant list. The conditions come first, and the plants follow.
Site preparation
Site prep is the least glamorous part of the project and the biggest factor in whether it succeeds. Weeds you leave behind come back through the new planting. Compacted or poorly drained ground holds plants back for years.
Removing lawn and weeds
There is no single best method. The right choice depends on the size of the area, your timeline, your starting weeds, and how much physical work you want to do.
- How it works
- Cover grass with overlapping cardboard, then 4 to 8 inches of wood chips. Plants are set through it, or it sits for a season first.
- Best for
- Lawn of almost any size. Builds soil and needs no digging.
- Watch out for
- Slow on its own. Weak against vigorous roots such as blackberry, bindweed, and Bermuda grass.
- How it works
- Remove weeds and roots with a fork, shovel, or hand tools.
- Best for
- Small areas, persistent roots, and finishing touches after another method.
- Watch out for
- Labor. Soil disturbance can bring up dormant weed seed.
- How it works
- A sod cutter peels the grass and its roots off in strips.
- Best for
- Larger lawns when you need the ground clear fast.
- Watch out for
- Removes some topsoil and leaves a lot of sod to haul or compost.
- How it works
- Clear plastic stretched tight over wet, mown ground during the hottest weeks of summer.
- Best for
- Sunny areas with annual weeds and shallow-rooted grass.
- Watch out for
- Needs weeks of strong sun. Less reliable on slopes, in shade, and on deep-rooted weeds.
- How it works
- Careful, label-directed application to specific plants.
- Best for
- A last resort for stubborn invasives that other methods have not beaten.
- Watch out for
- Needs care near water, wells, and wildlife. Always follow the label.
- How it works
- A tiller turns the lawn into the soil.
- Best for
- Rarely the best choice.
- Watch out for
- Breaks up soil structure, spreads root fragments, and wakes up weed seed.
In practice I often combine methods: sheet mulching across the lawn, hand digging for the roots that will not quit, and a targeted treatment only where a serious invasive demands it.
Weeds are not all equal
Invasive plants that spread aggressively deserve a thorough, early response. Many other weeds are simply opportunists that fade as a planting fills in. Knowing the difference saves a lot of work and keeps you from clearing plants that were doing no harm.
Soil: do less than you think
Most plants in a habitat garden do not need rich, amended soil, and extra fertility often just feeds weeds. In most yards the best soil work is a layer of mulch on top. Where I do work the soil, it is for a physical problem: relieving compaction, improving drainage, or repairing fill. The Willamette Valley's heavy clay soils are workable when planted into the right plants and kept covered.
Water: where it goes matters
Walk your yard during a heavy rain. Note where water pools, where it runs off, and where downspouts discharge. Our wet winters and dry summers mean a site often swings between saturated and parched in the same year. Grading, swales, and rain gardens can use that winter water instead of fighting it, and keep it away from your foundation.
Timing
In the Eugene area, fall through early spring is the planting window. Fall planting lets roots grow through the cool, wet months so plants are established before their first dry summer. Plants set in the heat of summer need far more water and often fail. Site prep can begin in late spring or summer, so the ground is ready when planting season arrives.
Order of operations
The order of the work matters as much as the work itself. Doing steps out of sequence means digging up plantings to install a path, or tracking mud across fresh mulch. This is the sequence I follow.
- 01 Plan, locate, and check. Finalize the design. Call 811 before any digging so buried utilities are marked. Confirm any permit, HOA, or setback requirements that apply to your project.
- 02 Clear and control weeds. Remove lawn, structures, and plants that are coming out, and start the weed control method you chose. Give it the time it needs.
- 03 Grade and fix drainage. Shape the ground, direct downspouts, and build swales or rain gardens before anything is planted around them.
- 04 Build the bones. Install paths, edging, patios, walls, fences, and other structures. Paths especially are far easier to add now than after the plants are in.
- 05 Install irrigation. Most new plantings need regular water for their first two or three summers. Drip lines or a temporary system go in before planting, not after.
- 06 Do any soil work. Relieve compaction and fix drainage where needed, then stop. Most planting areas need nothing more.
- 07 Plant. Set out the plants where they belong on the plan before you dig. Trees and large shrubs go in first, then smaller shrubs, perennials, and grasses. Small and one-gallon plants usually establish well and cost far less than large ones.
- 08 Mulch. Cover bare soil with a few inches of mulch, keeping it away from stems and trunks. It suppresses weeds and holds moisture.
- 09 Water and watch. Water deeply and consistently through the first dry seasons, check for problems often, and replace what does not make it.
- Planting before the paths and edges are built
- Mulching before the weeds are really gone
- Installing irrigation after planting and damaging roots
- Planting in summer heat instead of waiting for fall
- Skipping paths, then trampling beds because there is nowhere to walk
Ecosystem archetypes: five ways to read a space
An ecosystem archetype is a model of a plant community, such as a meadow, a woodland, or a streamside thicket. Each one has a typical structure, a typical set of conditions it thrives in, and a typical look through the seasons. Designing from an archetype helps a garden hold together because its plants share the same needs and support each other.
The five below are examples of how a space can be categorized, not a fixed menu. Think of them as lenses. Look at a part of your yard, ask what conditions it offers, and see which archetype it most resembles.
How to match a space to an archetype
- Light. How many hours of direct sun does it get, and in which season?
- Moisture. Is it saturated in winter, dry in summer, or both?
- Soil and slope. Is the ground clay, gravel, fill, or a slope?
- Scale and setting. Is it a front lawn, a narrow side yard, a fence line, or a corner by the downspout?
- The look you want. Open and flowering, layered and shady, or tidy and structured?
Most yards are a patchwork. A single property might have a sunny front lawn that suits a meadow, a shaded north side that suits a woodland, and a fence line that suits a hedgerow. Blending archetypes across zones is normal, and it is often the best answer.
The lens is a starting point, not a rule. As the previous section explains, your site's actual conditions have the final say, and I choose each plant for what it will experience in your yard.
The five archetypes
Meadow, prairie, and savanna
- What it looks like
- An open, sunny planting of grasses and flowering perennials, with spring bulbs and a long run of bloom from spring into fall. A savanna version adds a few scattered trees for structure and shade.
- Where it fits
- Sunny front and back lawns, large open areas, and places where you want to see color and movement. Often the most natural replacement for lawn.
- Habitat value
- Strong support for bees, butterflies, and other pollinators, plus seed for birds in fall and winter.
- Effort
- Weeding is intensive for the first two or three years while the plants knit together. After that it settles into an annual cut-back and occasional editing.
- Design note
- A meadow looks intentional when it has a clean mown edge, a path through it, or a defined border. Without a frame, a good planting can read as neglect.
Woodland and shady understory
- What it looks like
- Layers of ferns, groundcovers, shrubs, and woodland flowers beneath a canopy, with leaf litter on the ground and dappled light.
- Where it fits
- Yards under mature trees, north-facing sides, and spaces shaded by buildings or fences.
- Habitat value
- Cover and nesting for birds, shelter for insects and amphibians, and a leaf-litter layer that supports the soil food web.
- Effort
- Low once established. Many woodland plants grow slowly, so patience helps. Dry summer shade under established trees is the hardest condition, and it calls for careful plant choices and early watering.
- Design note
- Do not rake it all away. Leaving fallen leaves in place feeds the soil and shelters wildlife.
Habitat hedgerow and mixed shrub border
- What it looks like
- A layered band of small trees, tall and medium shrubs, and flowering understory along a boundary, like the edge where a woodland meets open ground.
- Where it fits
- Fence lines, property edges, screening from a neighbor or street, and transitions between lawn and shade.
- Habitat value
- The richest bird habitat of the five: berries, nesting cover, and shelter year-round, plus early and late nectar for pollinators.
- Effort
- Moderate to low. Shrubs fill in faster than most perennials, and a hedgerow gives a yard structure and privacy.
- Design note
- This is a good first archetype for someone worried about neighbors' reactions, because a layered border looks deliberate and finished from the street.
Rocky alpine slope
- What it looks like
- Low, tough, often mat-forming plants among stone and gravel, with fine textures, small flowers, and sharp drainage.
- Where it fits
- Hot, dry, fast-draining slopes, raised berms, rock outcrops, planting strips along pavement, and spots where reflected heat is intense.
- Habitat value
- Early and steady nectar for small native bees, plus basking and shelter spots for insects and small animals among the stones.
- Effort
- Low after establishment, but it needs lean, well-drained soil. Rich soil or too much water works against it.
- Design note
- Stone and gravel do double duty here: they provide the structure and keep the ground clear for the plants that belong there.
Riparian, rain garden, and bioswale
- What it looks like
- Lush, layered plantings in low spots, along drainage paths, or beside a stream or pond, built to handle standing water in winter and dryness in summer.
- Where it fits
- Downspouts, low corners that stay soggy, heavy clay areas, and natural drainage lines through a yard.
- Habitat value
- Cover and moisture for wildlife, nectar and habitat for pollinators, and cleaner, slower runoff that recharges the ground.
- Effort
- Moderate at the start, then low. The design has to be right for water volume and flow, which makes this archetype well worth planning carefully.
- Design note
- A rain garden turns a drainage problem into a feature. It should be sized to the roof or paved area that feeds it and placed well away from foundations.
Making it look intentional
The most common criticism of a natural garden is that it looks messy or untended. A healthy planting can look wild up close and still read clearly as designed from the street. A few moves do most of the work.
- Define the edges. A crisp edge between lawn, path, and planting tells the eye that someone made a decision.
- Build paths. A path gives you and your visitors a reason to walk through the garden, and it keeps footsteps out of the beds. It is easy to include early and hard to add later.
- Repeat plants. Repeating a few plants in drifts and groups looks calmer and more deliberate than one of everything.
- Plan the bloom sequence. Color from early spring to late fall holds attention and keeps pollinators fed all season.
- Add structure. Evergreen shrubs, a few stones, a bench, or a small tree give the eye something to rest on through winter, when perennials are dormant.
- Frame the front. A tidy border, a mown strip, or a simple fence gives a naturalistic planting a clear frame.
- Tell people what it is. A small sign that says the yard is wildlife habitat turns curiosity into appreciation. If you live in an HOA, it also helps to ask early and bring your design.
Habitat features that work
Plants are the foundation of a habitat garden, but a few simple features multiply its value. Most cost little or nothing.
- Leave the leaves and stems. Leaf litter, brush piles, and standing stems give shelter to birds, beetles, and overwintering insects. Delaying your cleanup until late spring helps them survive the winter.
- Leave some bare ground. Many native bees nest in the soil, in small patches of bare, sunny, well-drained ground.
- Add logs and stones. A downed log or a few stones shelter amphibians, reptiles, and insects.
- Provide water. A bird bath or shallow dish with a few stones for landing is the simplest water feature. Rain gardens and swales provide water on a larger scale. Refresh standing water often so mosquitoes do not breed.
- Offer nesting spots. Cut hollow or pithy stems, nest boxes, and snags support cavity nesters and stem-nesting bees.
- Skip the pesticides. Insecticides and broad-spectrum sprays work against the insects you are trying to attract.
Maintenance and the first three years
The first three years take the most attention. After that, the work drops sharply, because a well-chosen, established planting needs far less than a lawn.
A seasonal rhythm
- Fall
- The main planting season. Add mulch, plant, and let the rain do much of the watering.
- Winter
- Plan, prune where needed, and enjoy the structure and the birds.
- Spring
- Weed before things take off, and cut back what you left standing for habitat.
- Summer
- Water new plantings deeply, watch for stress in heat waves, and plan next fall's work.
Common challenges
- Weeds. They are the biggest ongoing job, especially early on. Thick mulch and dense planting reduce them over time.
- Deer and other browsers. Young plants are the most vulnerable. Protect them with fencing or cages for the first years, and choose plants that browsers tend to leave alone.
- Heat and drought. Summers are getting hotter and more variable. Planting in fall, mulching well, and watering new plants proactively before a heat wave all help.
Frequently asked questions
Will my yard look messy?
It does not have to. Defined edges, paths, repeated plantings, evergreen structure, and a clear frame make a naturalistic garden read as designed. The first year can look sparse while plants establish, so a good plan accounts for that.
How much does it cost compared with a lawn?
A habitat garden usually costs more to install than keeping a lawn, and less to keep up. Plants, materials, and labor are the main expenses. Costs vary widely with size and site, and phasing the project by zone is a good way to spread them out.
Can I do this myself?
Many people do. The work is physical, and the most expensive mistakes come from planning and plant selection rather than digging. Getting design guidance up front, even for part of the project, can save a lot of time and money.
Do I have to do the whole yard at once?
No. Phasing by zone is often smarter. Start with the area that matters most or the one with the biggest problem, and build outward as time and budget allow.
Can I keep part of my lawn?
Yes. A smaller, well-shaped lawn next to habitat planting is a perfectly good design, and it gives a clean, familiar edge that people appreciate.
Do I have to use only native plants?
No. I use natives wherever they suit the site and combine them with hardy, well-behaved non-natives where conditions call for it. The goal is a stable planting that supports wildlife and thrives on your actual site.
How soon will wildlife show up?
Pollinators and birds often visit within the first year, sometimes within weeks of the first blooms. The community gets richer as the plants mature.
What about deer?
Deer browse young plants hard. Temporary protection during the first years, combined with plant choices that deer tend to avoid, lets most gardens get past the vulnerable stage.
Will it attract pests?
A habitat garden attracts more insects, birds, and small animals, which is the point. Most of them are beneficial. Keeping standing water fresh, avoiding food waste, and keeping brush piles away from your house addresses the common concerns.
What if I have an HOA?
Ask early, bring a design rather than an idea, and emphasize edges, paths, and structure. A planting that looks cared for is far easier to approve.